

Originally posted on Make It from Your Heart: January 23, 2015
With the end of the old year and the dawn of the new year, I’m sure
you’ve seen your fair share of “Year in Review” posts floating through
your Facebook newsfeeds. Some people argue that things such as this have
replaced scrapbooking layouts and albums. This is the new scrapbooking,
they say. We no longer turn pages; we scroll them. So why then do some
of us continue to use paper to preserve our memories? Is scrapbooking
with paper still important? Well, let me tell what I think.
 The
things that pop up in our newsfeeds often become irrelevant within mere
hours of being born. Their permanence is as fleeting as dust in the
wind. People will click through maybe once or twice, but after that, few
will even remember they were there. When we upload pictures to
Facebook, it fails to leave us with the same sense of satisfaction that
comes from the whiz of a paper cutter or the stickiness of fingers
spotted with adhesives. And when we type out our words, we lose the
intimacy of handwriting and the beautiful way a personality dances its
way through the shapes of the letters.
The
things that pop up in our newsfeeds often become irrelevant within mere
hours of being born. Their permanence is as fleeting as dust in the
wind. People will click through maybe once or twice, but after that, few
will even remember they were there. When we upload pictures to
Facebook, it fails to leave us with the same sense of satisfaction that
comes from the whiz of a paper cutter or the stickiness of fingers
spotted with adhesives. And when we type out our words, we lose the
intimacy of handwriting and the beautiful way a personality dances its
way through the shapes of the letters.
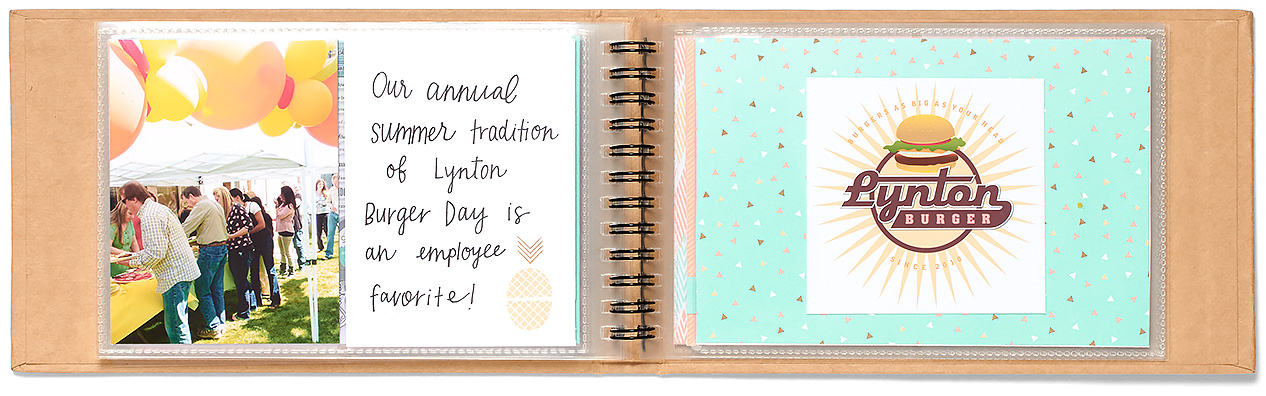
This is why I love National Papercrafting Month. It’s a wonderful
reminder at the beginning of the year of why I fell in love with
scrapbooking in the first place. It reminds me why we still spend time
preserving memories with paper in a world that is slowly turning into
pixels.
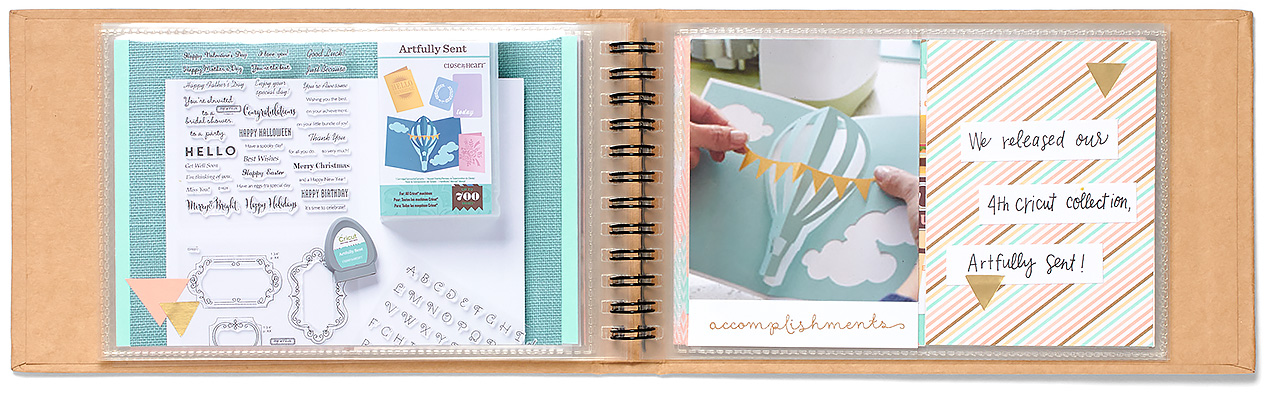 Working
with paper will ground you in reality and in the beautiful subtleties
of our physical world, which is why I think the Year >> Noted kit
is so nicely suited to this month. In the rush of a new year and the
memory of an old year, it not only keeps me grounded, but also gives me a
place to tether my dreams, making my big goals seem so much more in
reach!
Working
with paper will ground you in reality and in the beautiful subtleties
of our physical world, which is why I think the Year >> Noted kit
is so nicely suited to this month. In the rush of a new year and the
memory of an old year, it not only keeps me grounded, but also gives me a
place to tether my dreams, making my big goals seem so much more in
reach!
Life is a continual cycling of beginnings and endings—don’t get lost
in the whirlpool. Take the time to write down those things within your
heart that will one day become the whispers of your past. Ground
yourself in paper. Because when you hold a real, finished project in
your hands, the rush and the hurry fades away and the only thing you
feel is contentment.
And trust me, when this new year becomes old and the time comes to
reflect, you’ll be happy you have something real to hold and to
remember. Let this kit become a time capsule filled with little pieces
of who you are in this moment. I promise you that when you take the time
to remember, your heart will fill with gratitude for not only who you
are, but also for who you are becoming.
 Happy scrapbooking!
from Jeanette Lynton


.jpg)

